Use as many hints as you need for a fun evening!
The hints below are sorted per document and give a good order to approach The Medusa Report.
If you’ve found out where Abigail is hiding, please email us at info@diorama.games.

1. The photographs
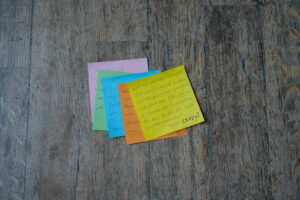
2. The post-its
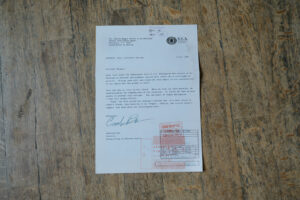
3. The letter from Carolien Bie (S.E.A.)
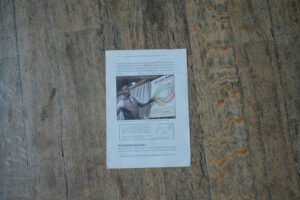
4. The book page

5. The map
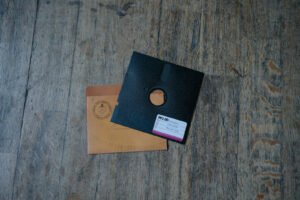
6. The floppy disk
7. The printout

8. The blotting paper
9. The map (again)
The two extra questions
Diorama | Van Zuylenstraat 5, 3454 ET De Meern NL
KVK 57834288 | BTW NL001948944B87

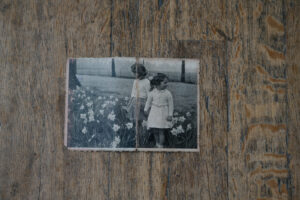
On the back of Abby & Helena’s photo, carefully read the last few lines. Abigail points out a specific document (she gave it a pink post-it), and gives coded instructions about what to do with that document.

Each of these triangle symbols relates to one of the photographs. What could the little ‘1’s and ‘2’s mean?
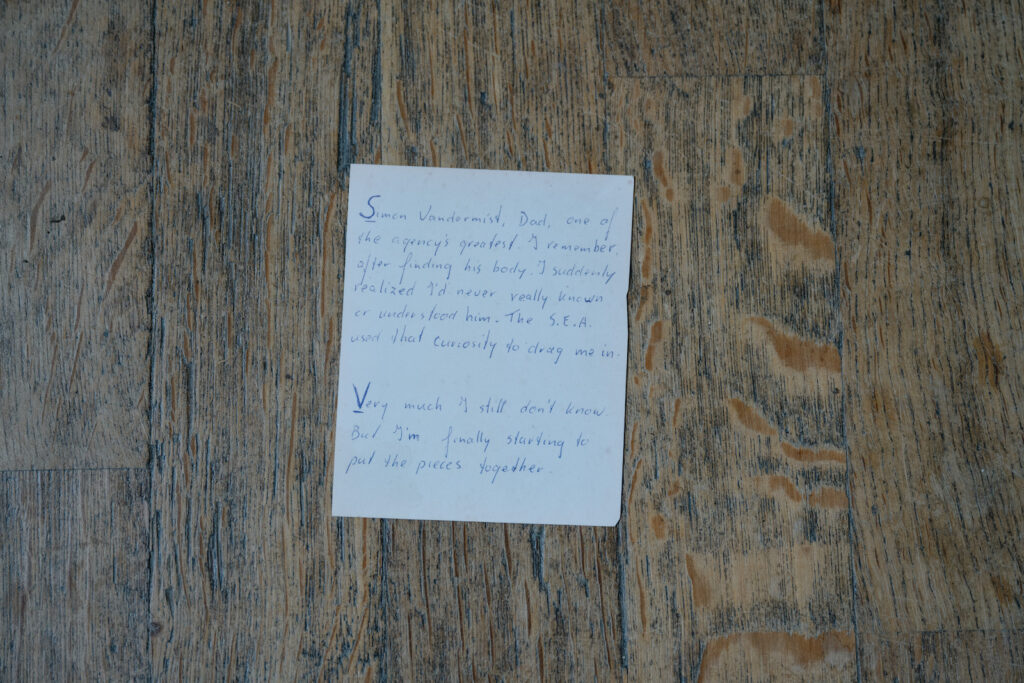
Every photo has 2 paragraphs of text on the back, each starting with a big, underlined capital letter.

To decode any symbol/number combination, look at the relevant photo and take the first letter of either the 1st or 2nd paragraph.

“VIEW IT THROUGH THEIR EYES”
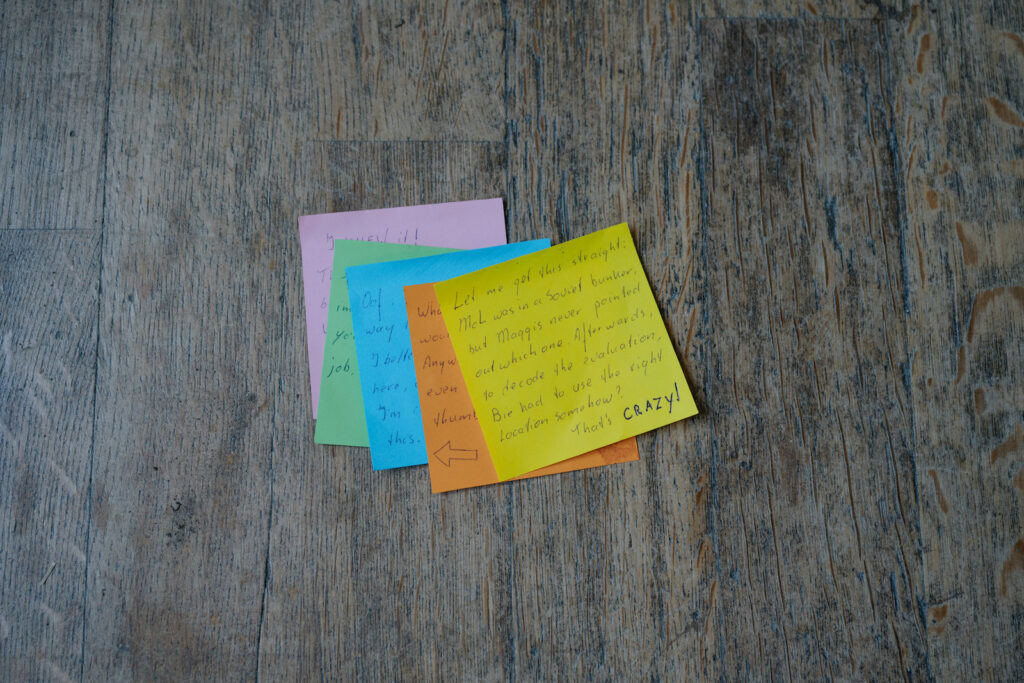
The S.E.A. removed all Abigail’s post-its and added them separately. Try to find out which of the post-its goes where. The 5 relevant items are listed under the transcript and on the back of Helena’s letter: the page torn from a book, the letter from Bie (S.E.A.), the letter from Maggis (C.I.A.), the sleeved floppy disk, and the transparent sheet.
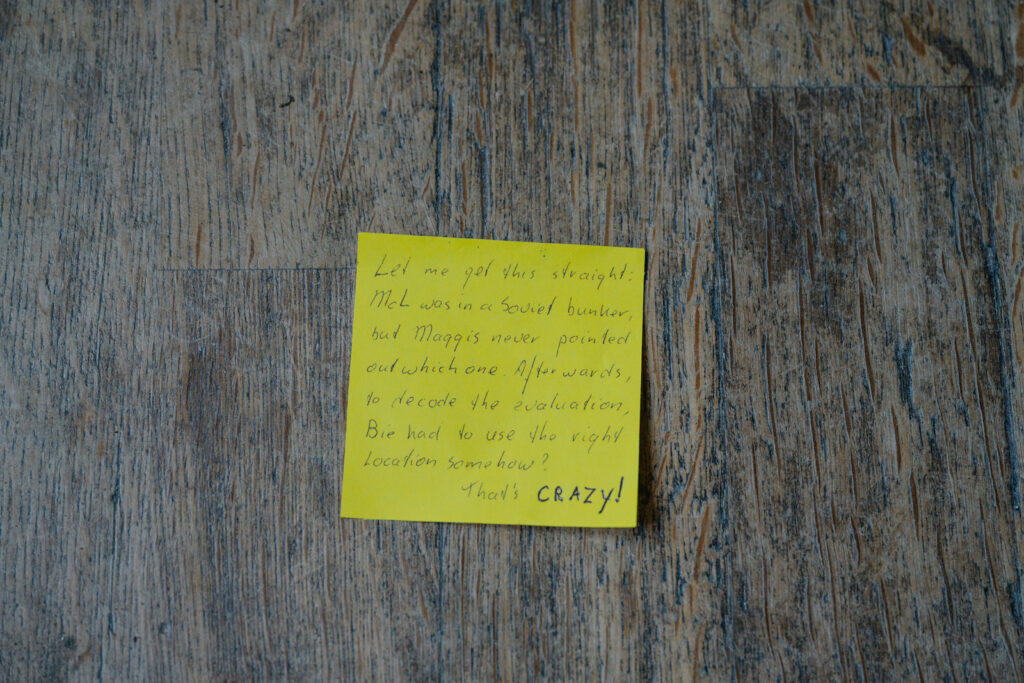
The yellow post-it has some bold writing on it. Can you see where it used to go?
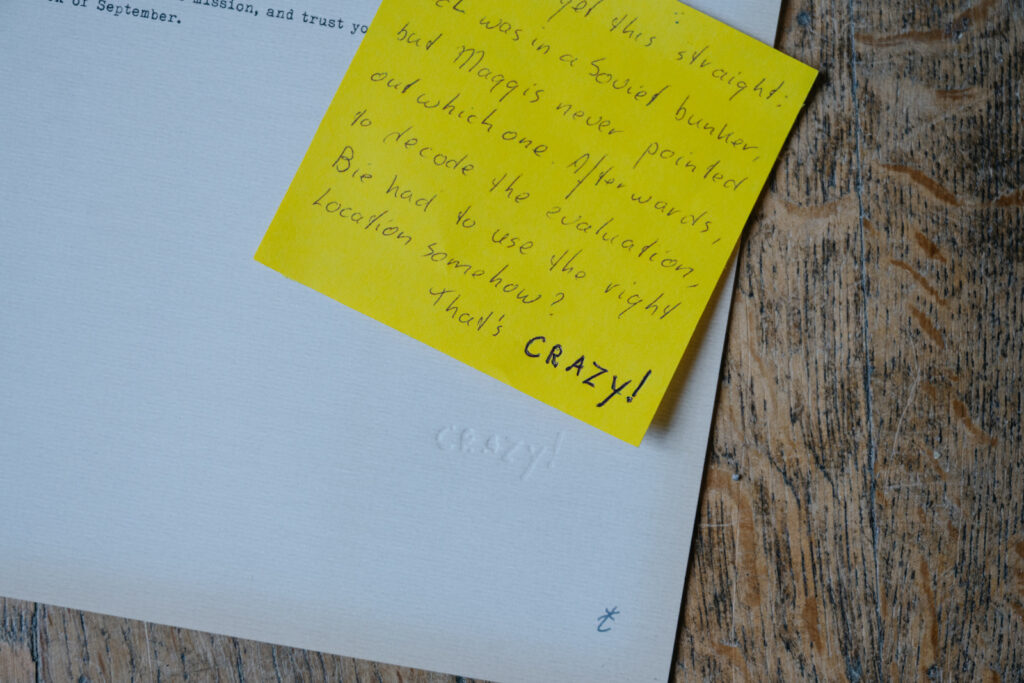
You can still see the imprint of the word ‘CRAZY’ on the C.I.A. letter.
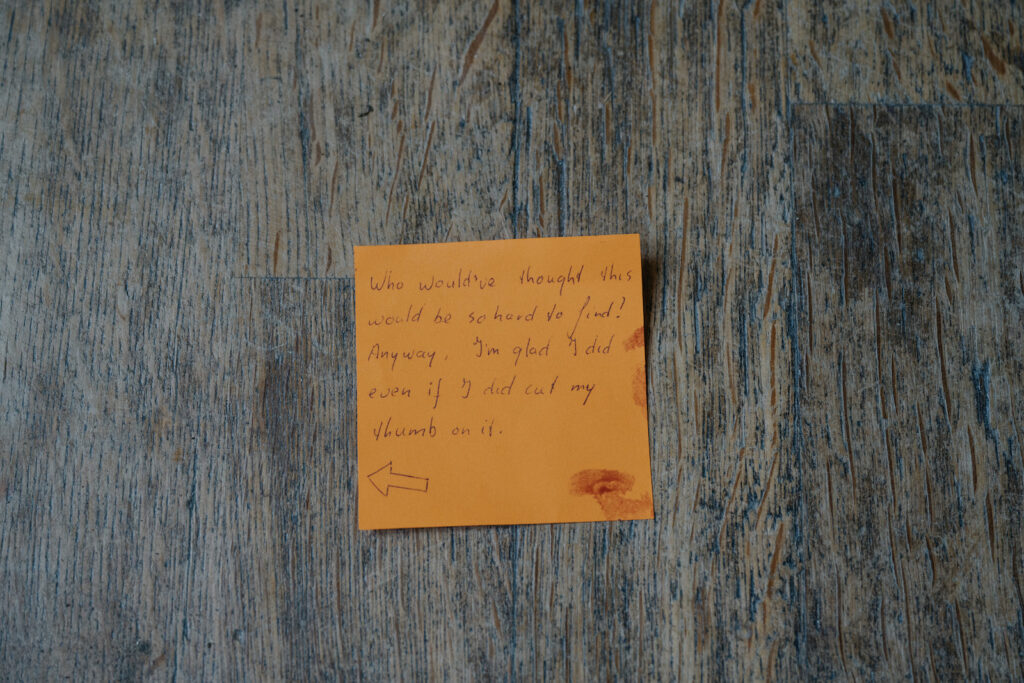
The orange post-it has some blood on it. Can you see where *exactly* it used to be?
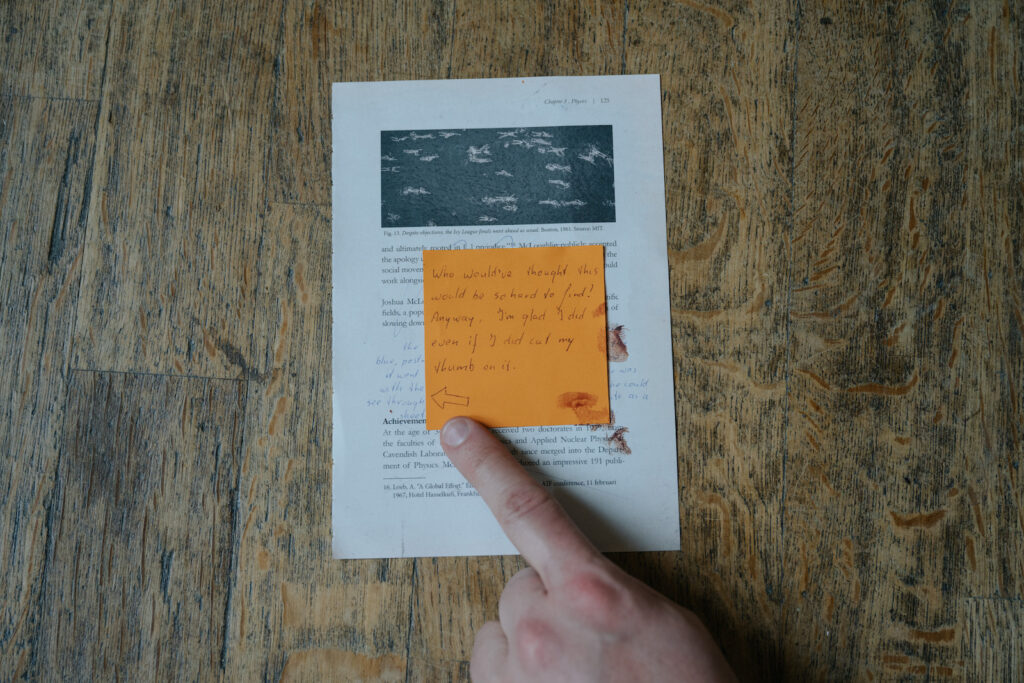
Using the blood on the book page, you can line it up to the exact right spot.
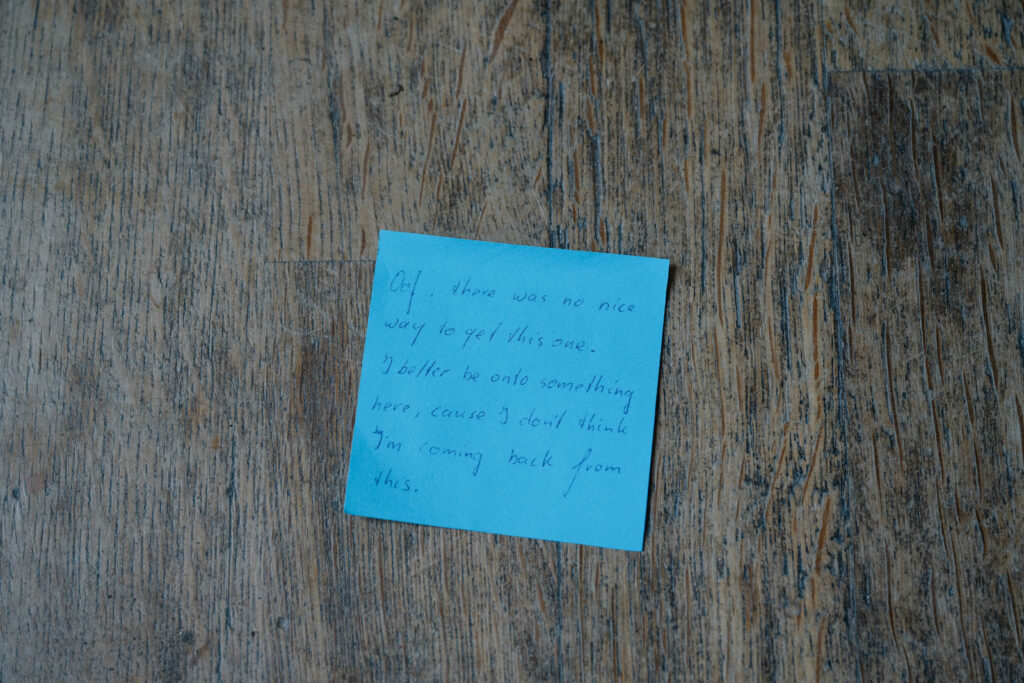
Use the placement of the orange post-it to find out where the blue one used to go.
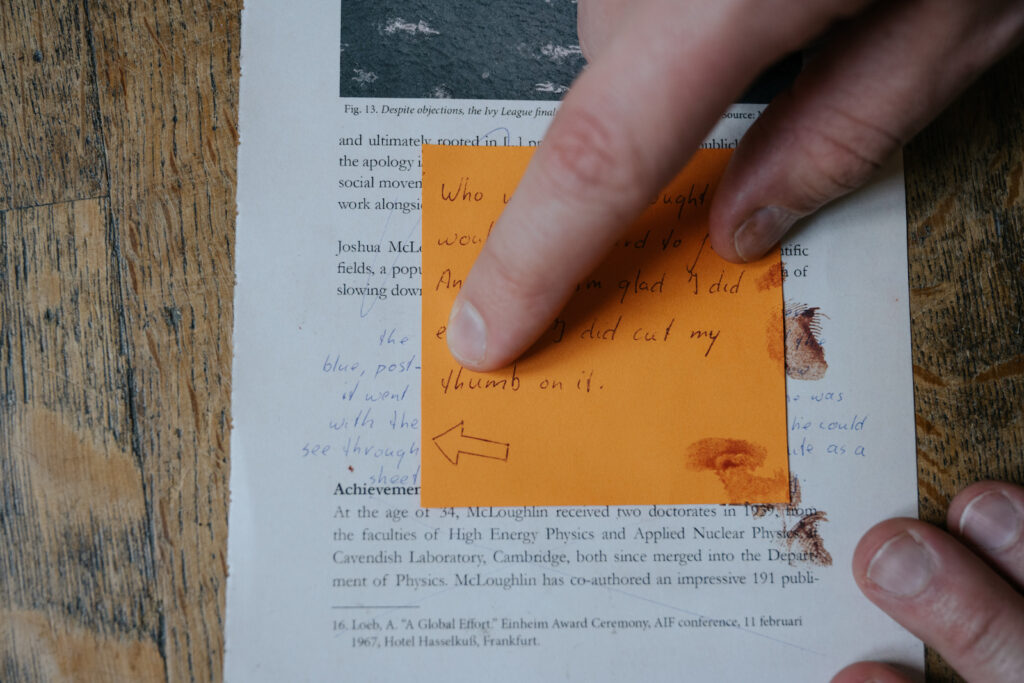
The orange post-it covers some of the text written by Abby, and points to the words that are left: “The blue post-it went with the see through sheet.”
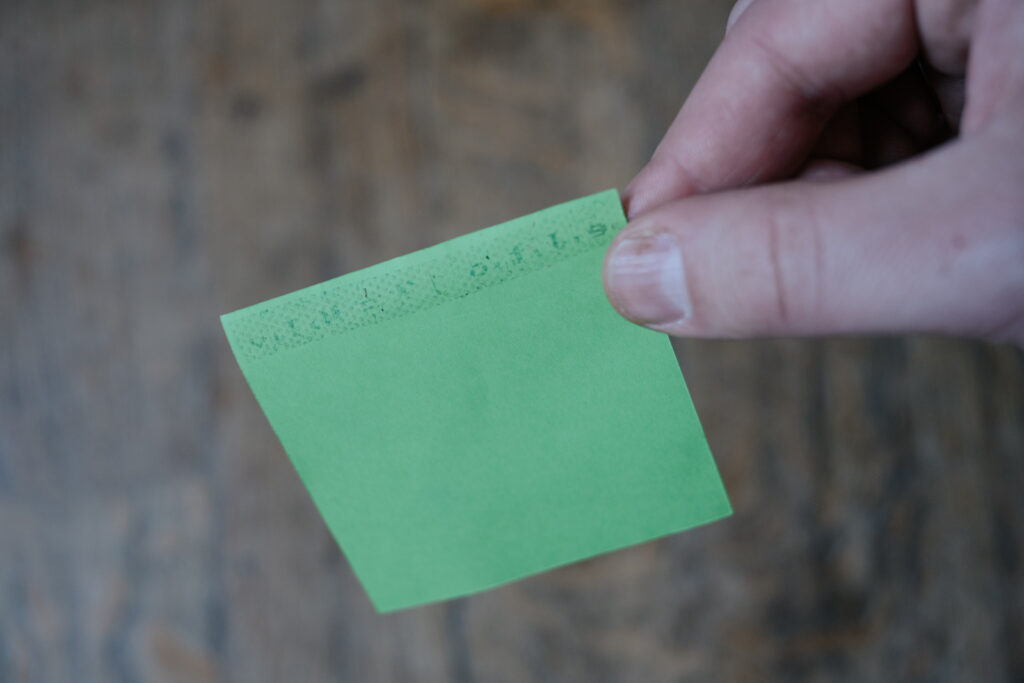
There’s something on the back of the green post-it. It picked up some of the ink from where it used to stick.

The print on the back of the green post-it exactly matches the missing ink on the floppy sleeve.
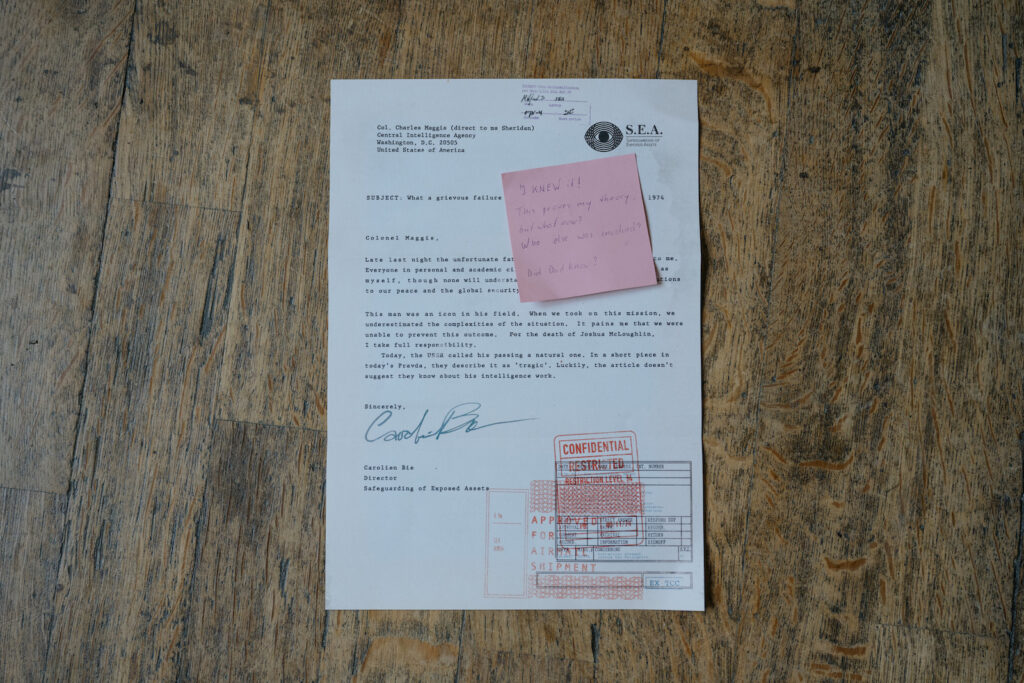
By now, you should have only one post-it and one document left.
This is where each post-it goes: yellow – C.I.A. letter, orange – book page, blue – transparency, green – floppy, pink – S.E.A. letter.

First, solve the photographs and the post-its.

On the back of her photograph, Abigail gave these instructions: “Take [the document with the pink post-it] and view it through their eyes.” What could this mean?

You can find the S.E.A. eye logo in multiple places. Can you look ‘through’ these eyes?
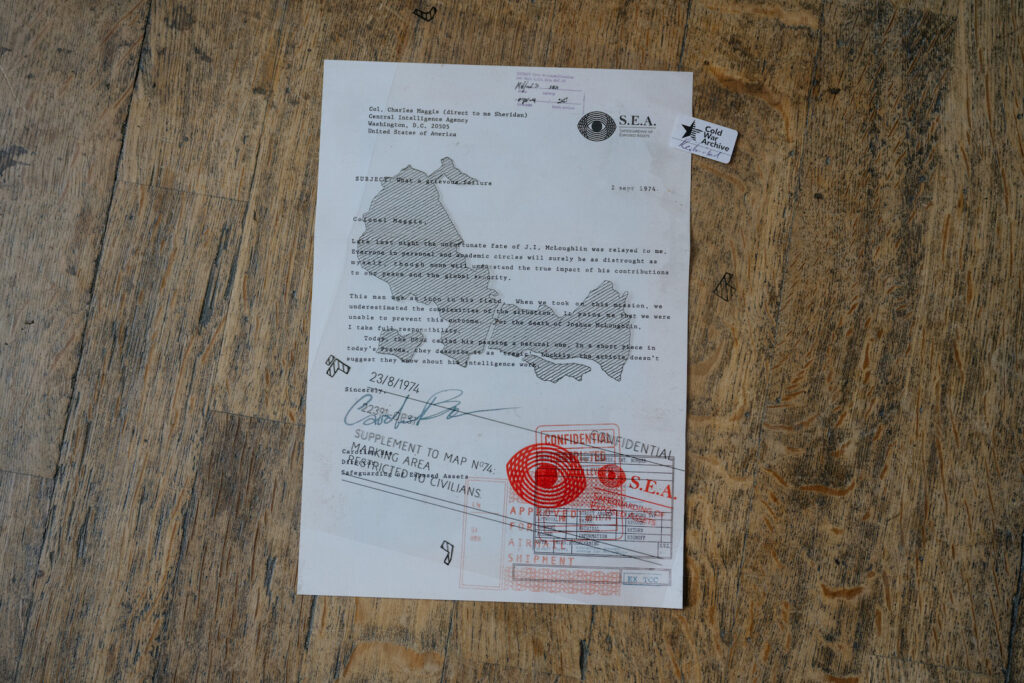
Place the transparent sheet on the letter by Carolien Bie (S.E.A.). The red logo will hide the chaotic stamps and reveal a hidden message.
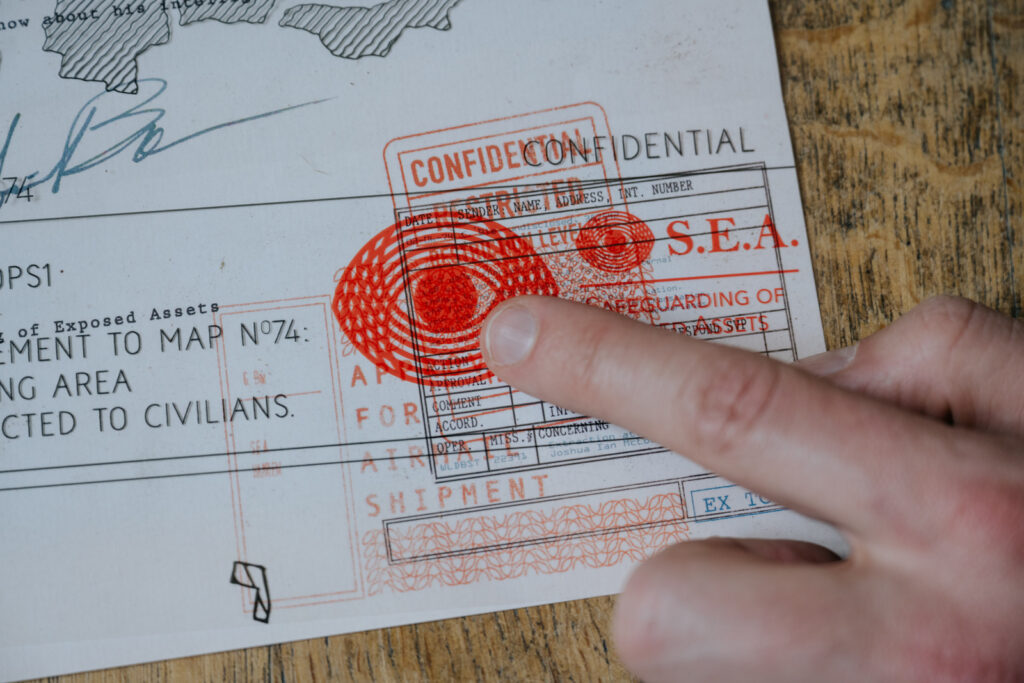
Moving the red eye(s) left to right, you can read:
“It’s done, Charles! McL is eliminated. KGB will never find out what he knew, thanks to my Medusa substance. This is the future of protecting state secrets. Your instruction was clear, my field agent showed me how the correct shelter met the 4 reqs pointed at in figure 84.”
First, solve the letter from Carolien Bie (S.E.A.).

In her hidden message, Carolien Bie mentions she found McLoughlin’s shelter by following Maggis’ mysterious instructions. She mentions ‘the 4 requirements pointed at in figure 84.’ What could this mean?
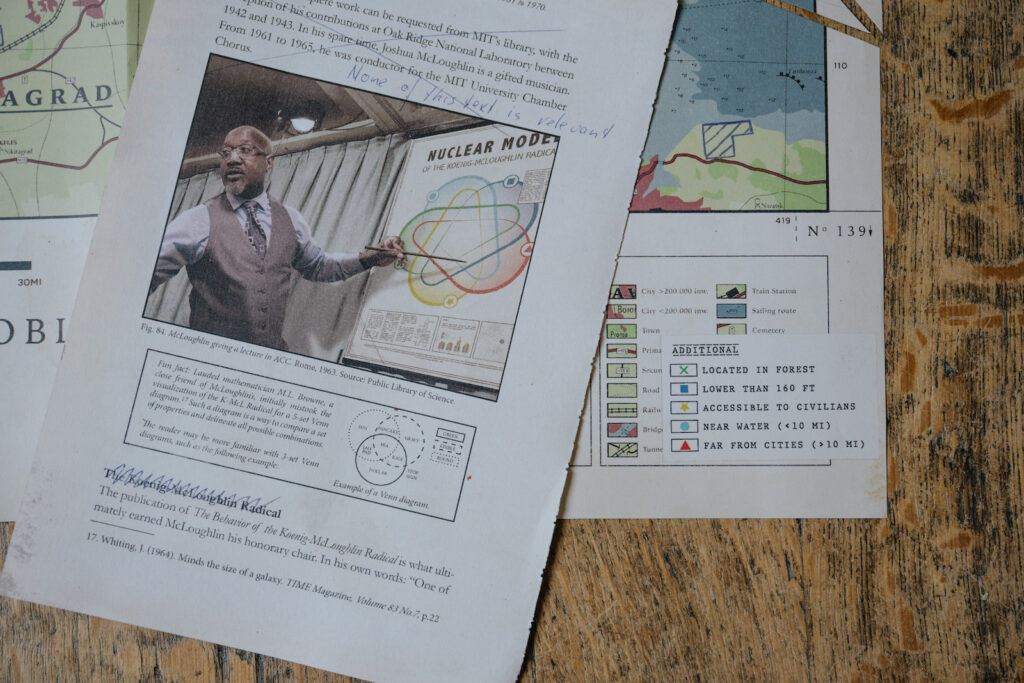
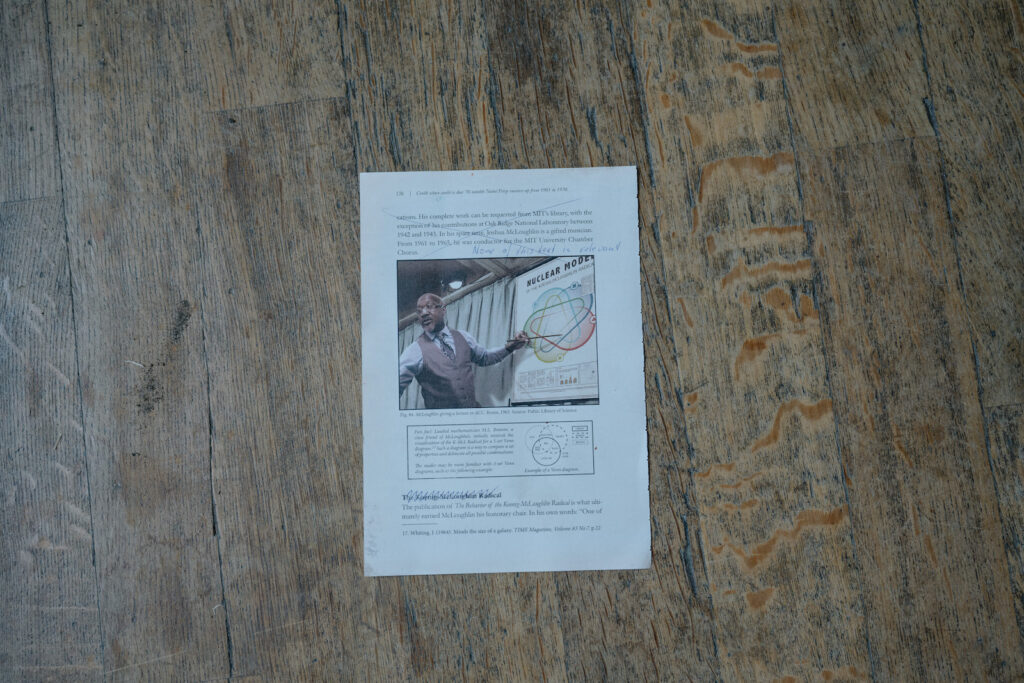
In his letter, Maggis says to “consult a book by the name of ‘Credit where credit is due’”, to find the correct shelter. The page torn from this book does have a picture labeled fig. 84.

In fig. 84, McLoughlin himself points at an atomic model that bears resemblance to a 5-set Venn diagram. Where *exactly* is he pointing?

A Venn diagram shows overlapping sets. Study the example below the photo for a demonstration if you need it.
The space McLoughlin points at is inside 4 of the 5 sets: light blue, dark blue, red and yellow.
It is outside of the green set. Can you find out what these sets represent?
First, solve the Book Page.

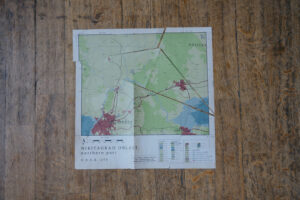
The same 5 color/symbol combinations from the Venn diagram can be found on the tactical map, as an addendum to the legend. How can you use this information?
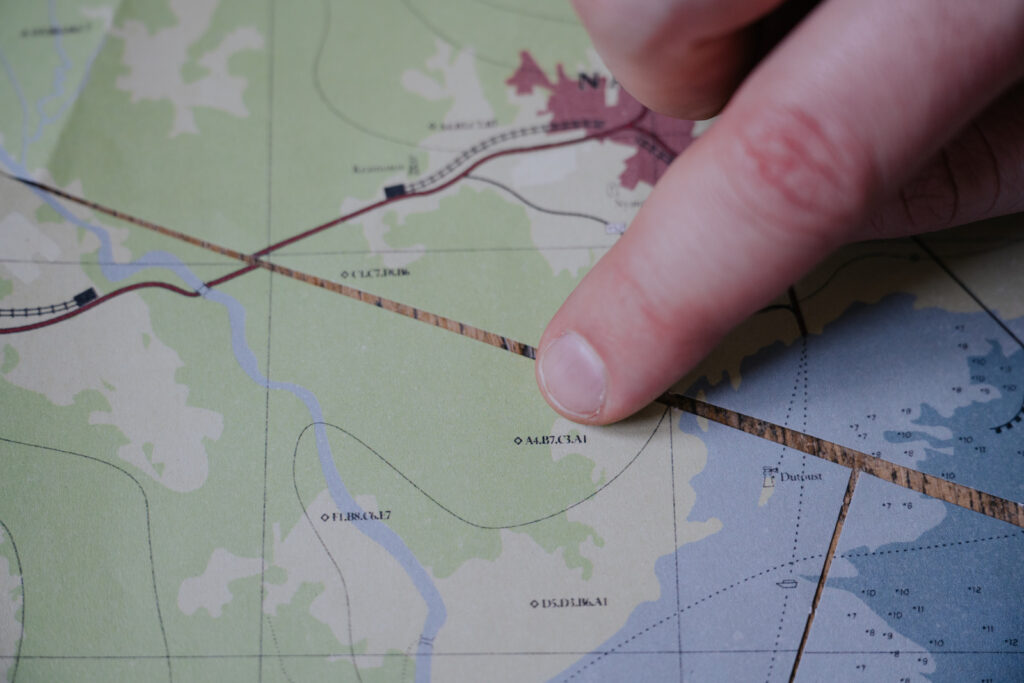
Joshua McLoughlin was kept in one of the bunkers on the map. The legend shows what a bunker looks like: a small diamond, followed by a string of letters and numbers. There are dozens of bunkers in the area. Use the Venn diagram to find the right one.
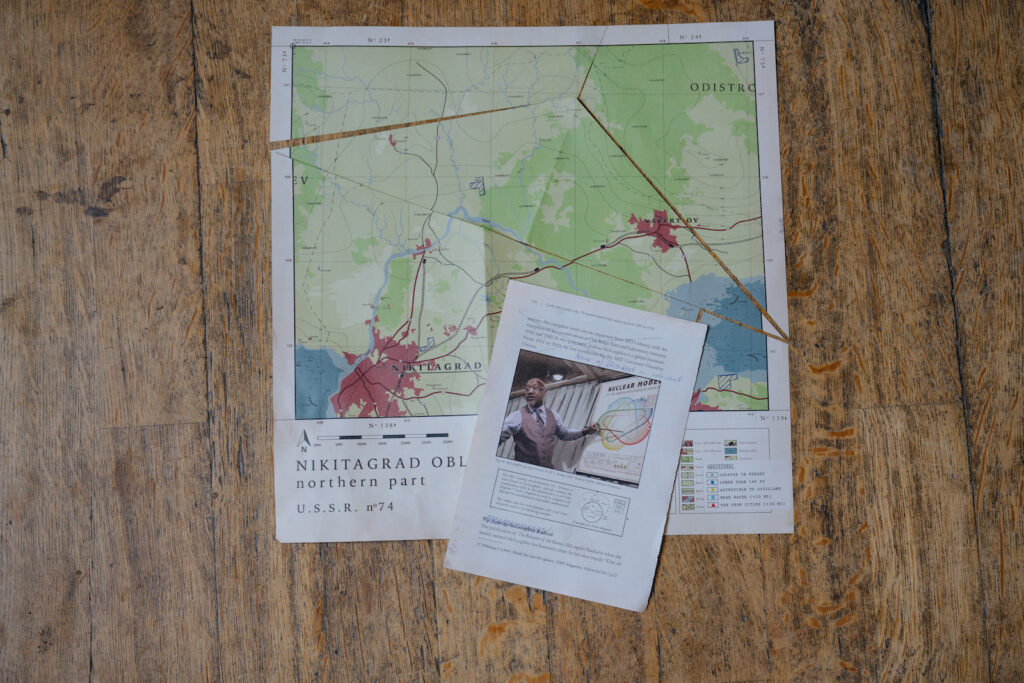
According to the Venn diagram, the correct bunker meets all requirements except the green one, meaning ‘located in forest’. You’re looking for a bunker that’s: below 160ft, accessible to civilians, near water (<10mi) and far from cities (>10mi), while not being in the forest. Which parts are accessible to civilians?
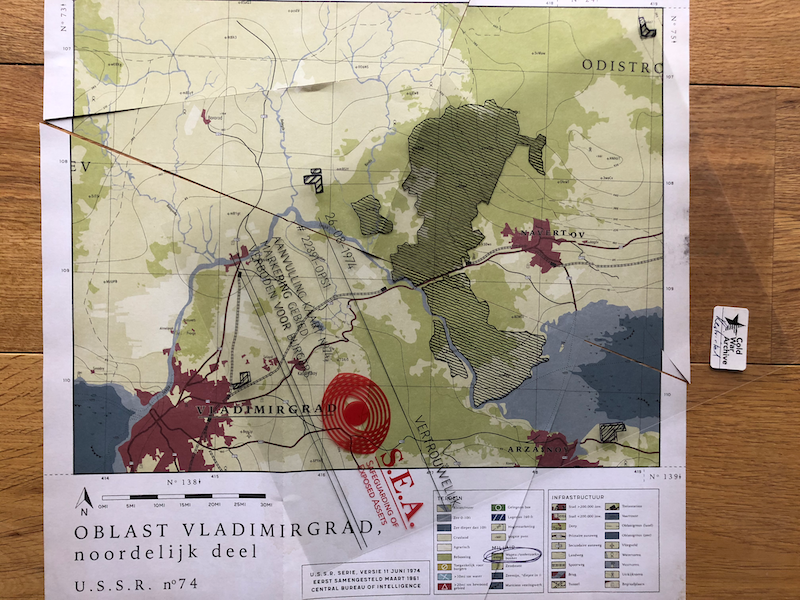
Place the transparency on the map to see which parts are restricted. There are 4 hand drawn markers on the map to help place it in the right position. Note: the transparency reveals which parts are *not* accessible to civilians.

One bunker meets the correct requirements: ◇ D6.B9.A2.E3.

First, find the bunker where Joshua McLoughlin was kept.
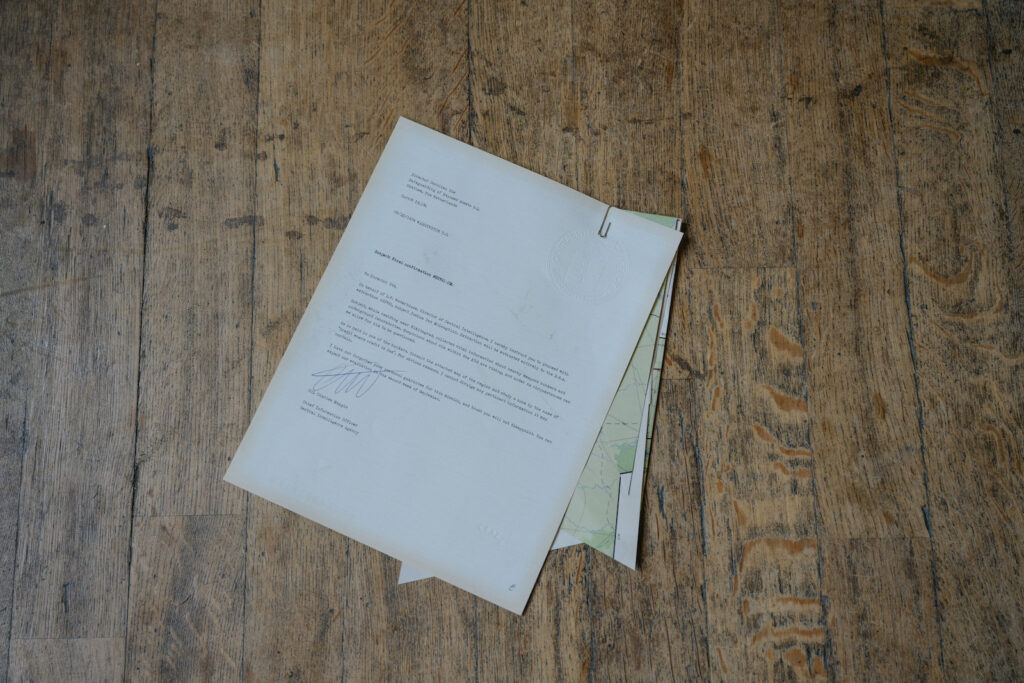
On the back of Maggis’ letter (C.I.A.), his assistant added in pen about the evaluation: “22391.rqNx will be encrypted, the key can be found at McLoughlin’s location.”
Now that you’ve found the correct bunker, can you decode the floppy and its printout?

The bunkers on the map have an unusual naming convention, they all have 4 sets of a letter and a number. Can you use the name of the correct bunker somehow?
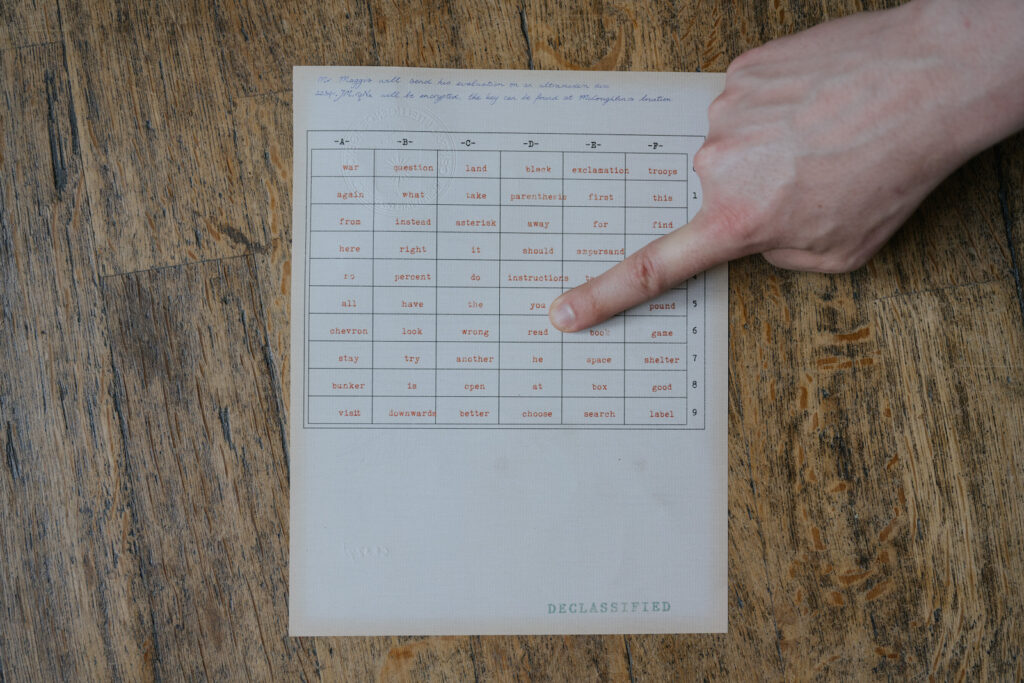
Use the table on the back of Maggis’ letter to find the meaning of each letter/number combination. For example: ‘A0’ in a bunker name would refer to the word in the top left corner: “war”.
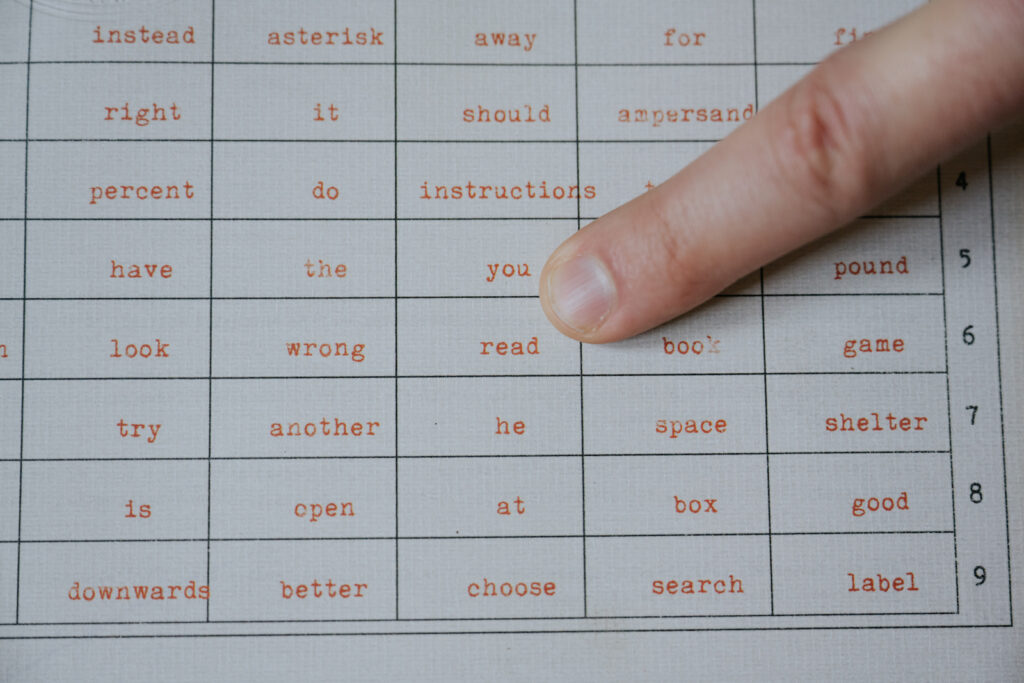
“READ DOWNWARDS FROM AMPERSAND” How can you use this message to read the evaluation?
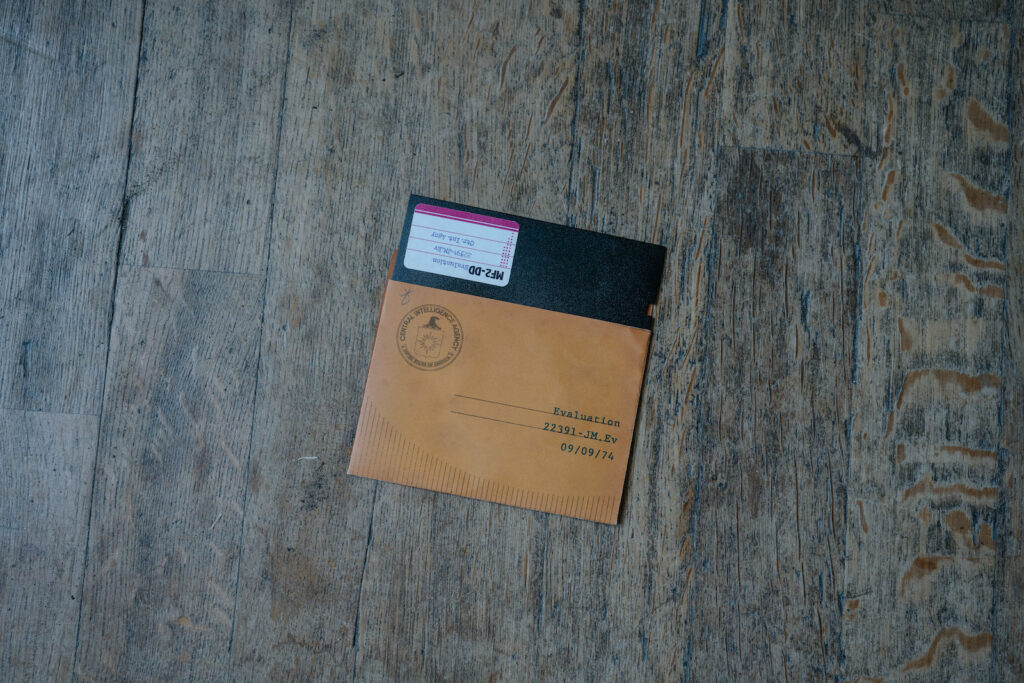
On the back of the floppy sleeve is a list of characters, each with a series of 6 letters. What letters does the ampersand (&) represent?

Unfortunately, some of the letters are illegible – unless you check the back of the green post-it! Naturally, the letters it lifted are mirrored.

According to the sleeve, ampersand equals ‘R,h,e,J,t,o’. With that in mind, what could ‘READ DOWNWARDS FROM AMPERSAND’ mean? Where else have you seen letters like these?

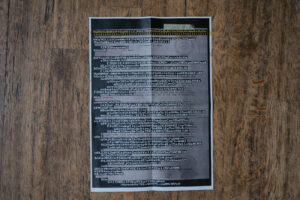
Examine the printout with the ‘corrupted’ file 22391.rqNx. Maggis’ assistant said it would be encrypted. How does ‘READ DOWNWARDS FROM AMPERSAND (R,h,e,J,t,o)’ help? The alphabet at the top is highlighted for a reason. Every letter is present in upper- and lowercase.
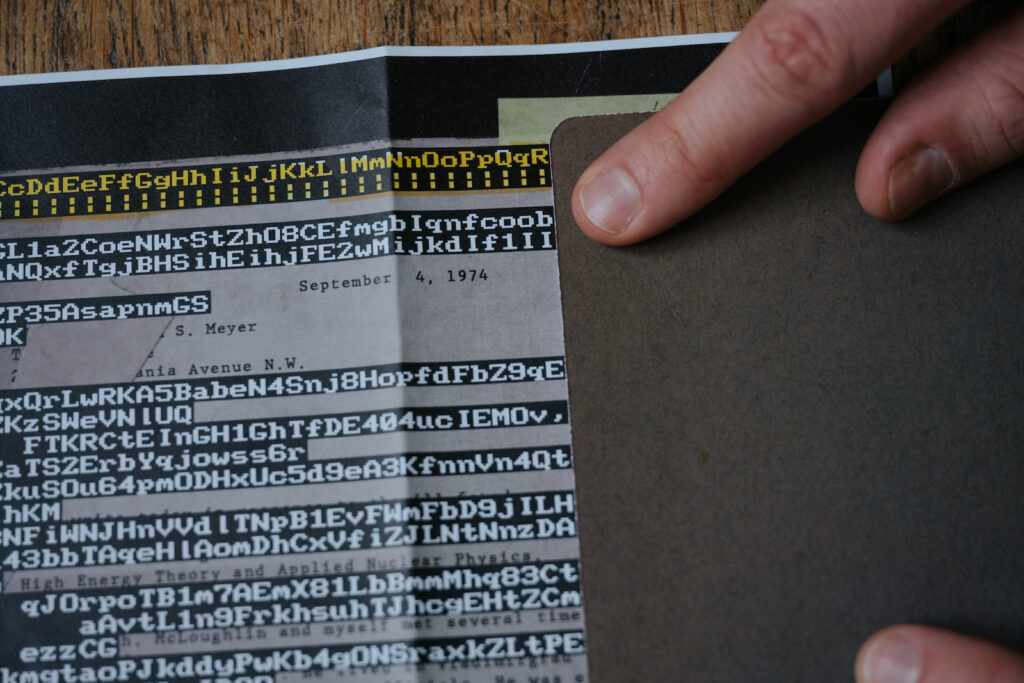
Start from the uppercase R and read straight down – it might help to use something as a ruler. Ignore blank spaces and letter cases. When you’ve read the whole column of letters, continue from the lowercase h, etc.
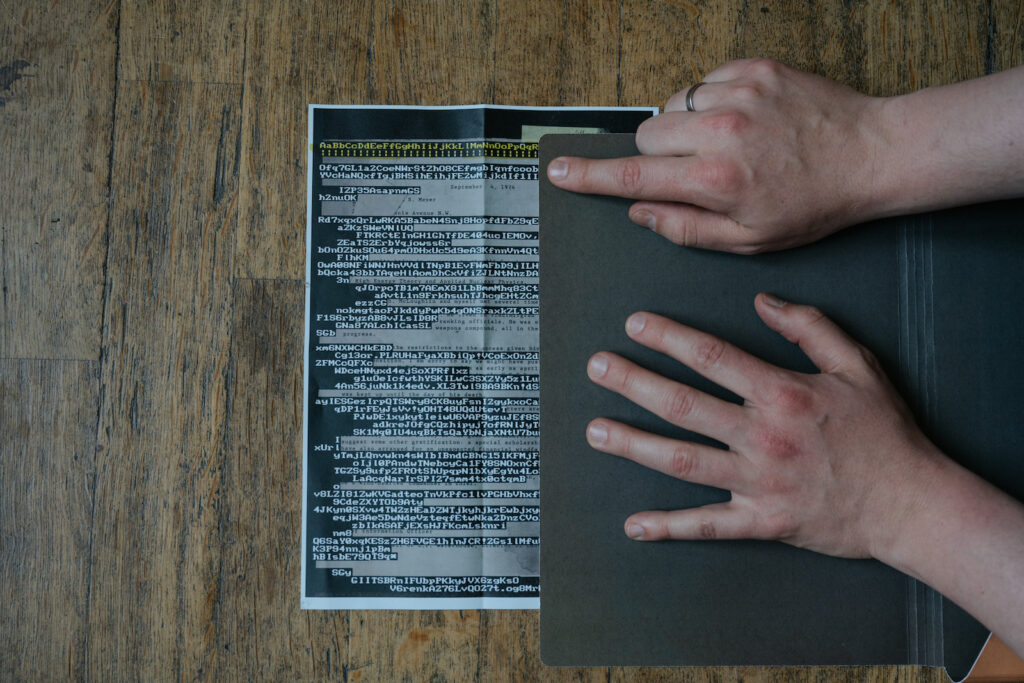
“Bie, that MEDUSA stuff of yours is a goddamn disaster! You swore the effects were untraceable. You’re damn lucky we kept things under wraps. Check behind the padding of this envelope and find the key by turning the disk.”
Do as Maggis says. Carefully pry the bubble wrap from the padded envelope to find a hidden note from Maggis. Unfortunately, this is in code, too. Rotate the inner disk of the floppy to reveal ‘the key’.
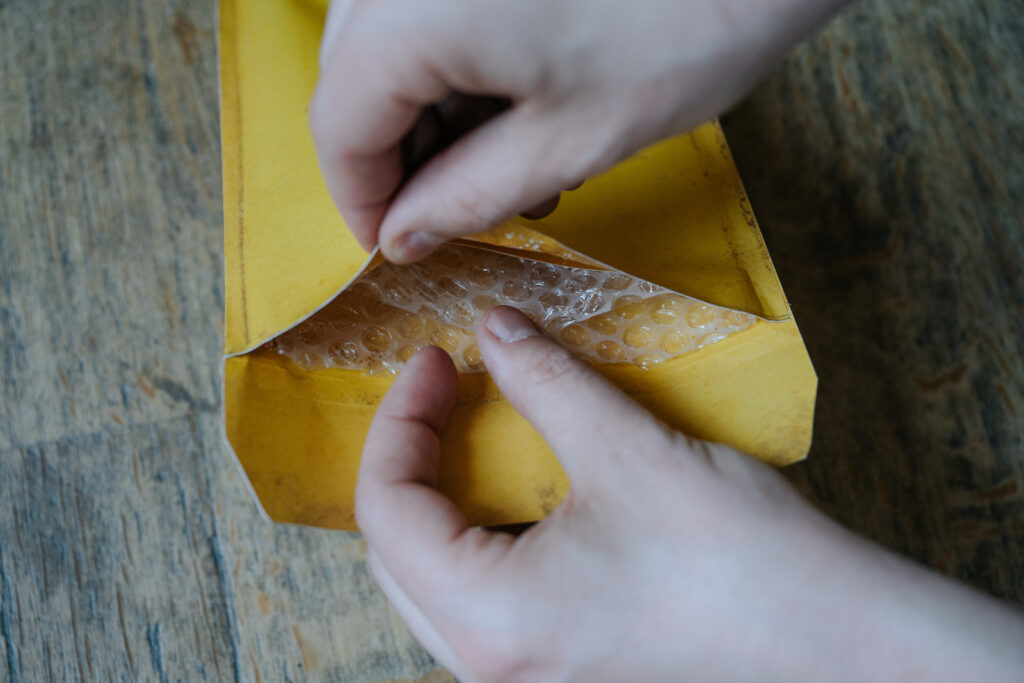
The code consists of clock-like circles, with arrows pointing to the 12 different positions. Can you turn them into words with the help of the ‘key’ found on the inner floppy disk?
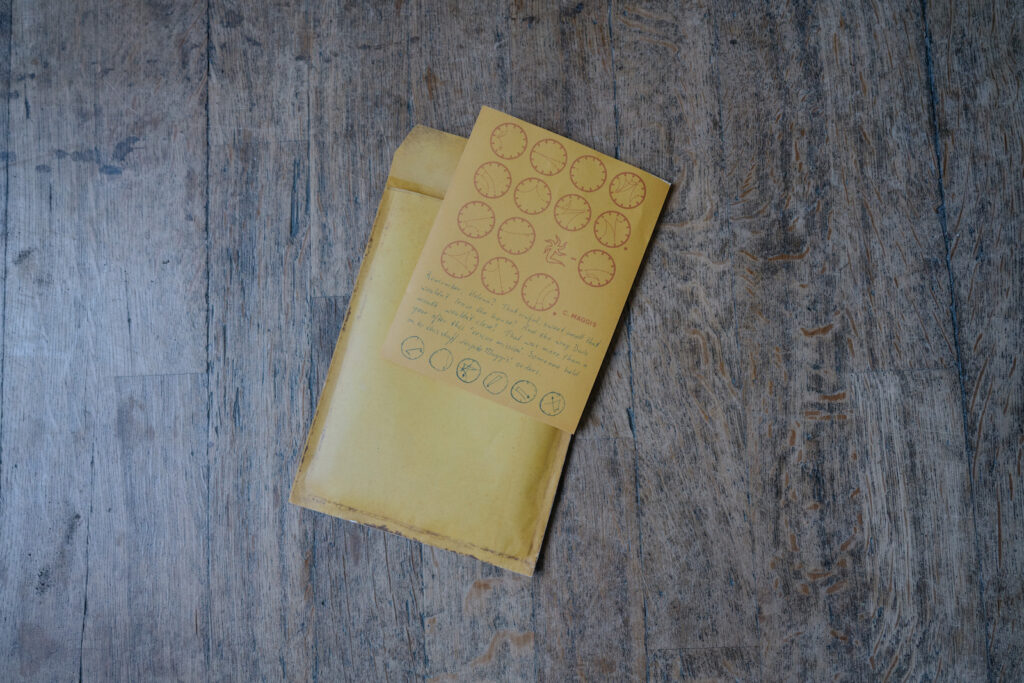
The little sticker on the inner floppy disk (‘the key’) reveals which letter each of the 12 positions signifies. “CARCASS HAD A CONTORTED FACE AND FLORAL SCENT. LOSE ALL [MEDUSA]-DOSES THAT ARE LEFT.”
Abby has written her own thoughts underneath, with a small part being encoded in the same way. These 6 hand drawn clocks spell: “FOLD THE FALCONS ONTO EACH OTHER.”
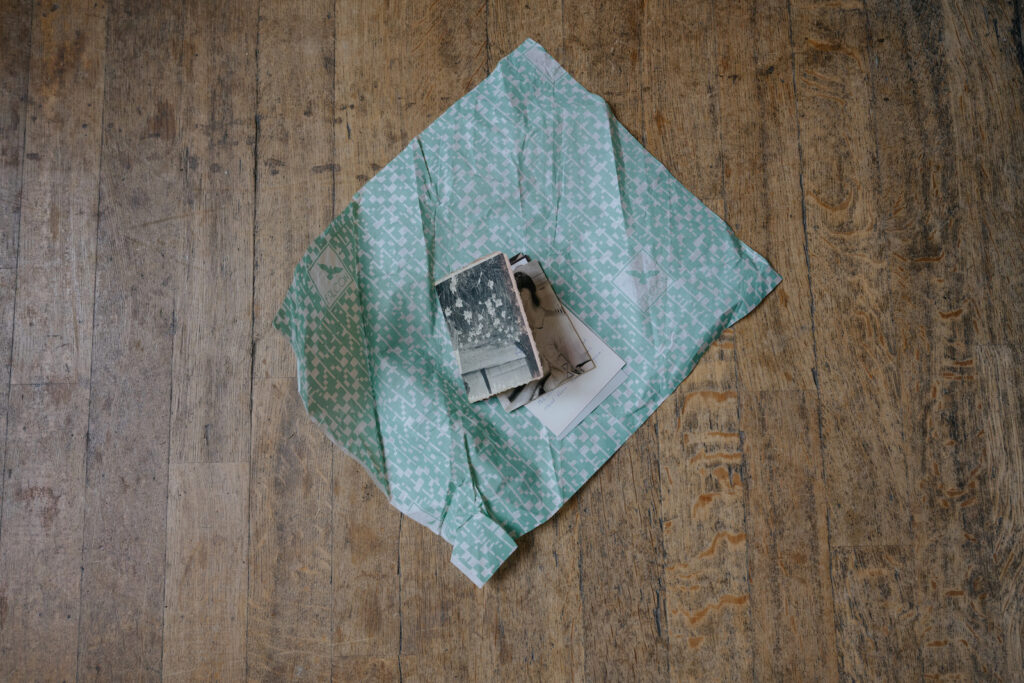
First, solve the floppy disk and the printout. Have you found Abigail’s hidden message to Helena?
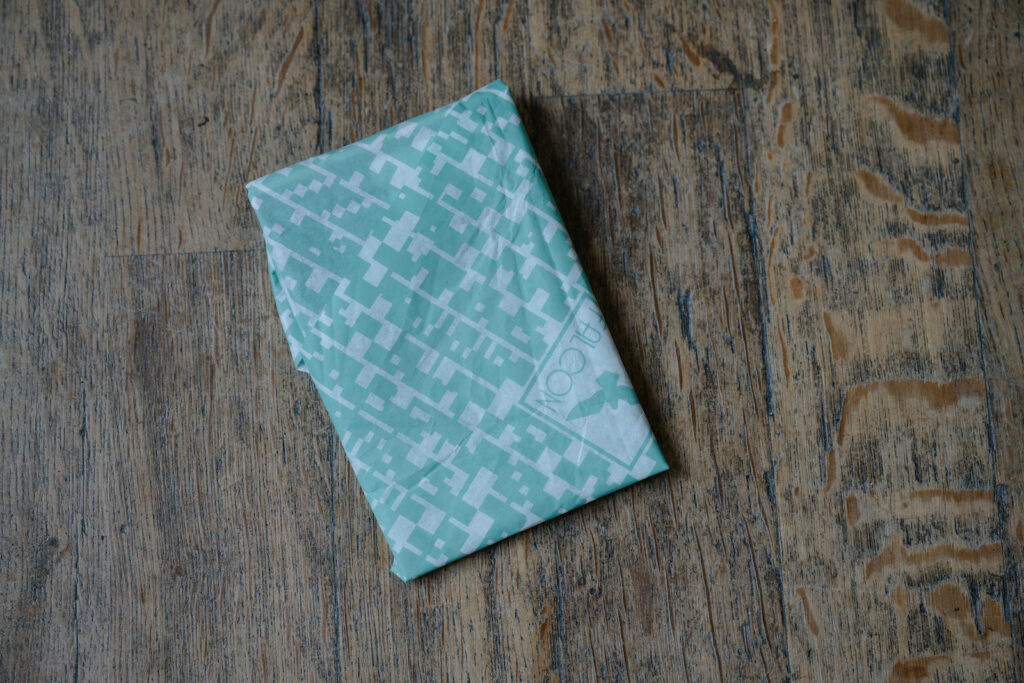
“FOLD THE FALCONS ONTO EACH OTHER” There are ‘Falcon’ logos on the green blotting paper the photos were wrapped in.
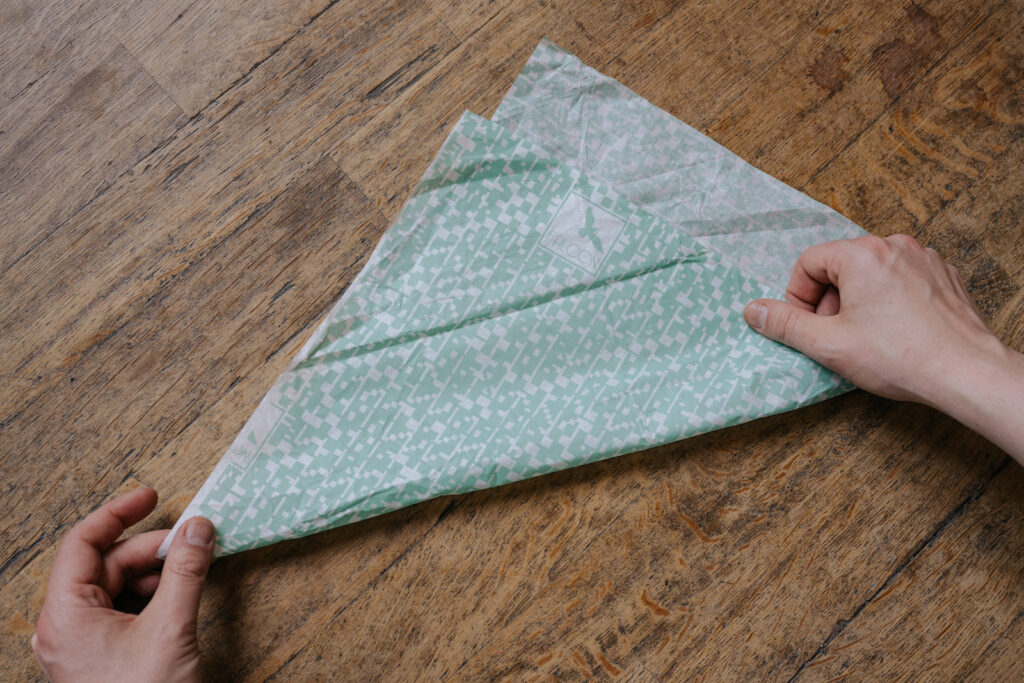
With one diagonal fold, align the two Falcon logos. Can you see something?

When you hold it up to the light and align the fold just right, letters appear. Abigail produced this paper and hid a message to Helena in it!

“I must know who used this stuff on Dad! I’m hiding in a structure on the map. Make it a hexagon, place the square and look through the circle. Come find me!”
First, solve the blotting paper.

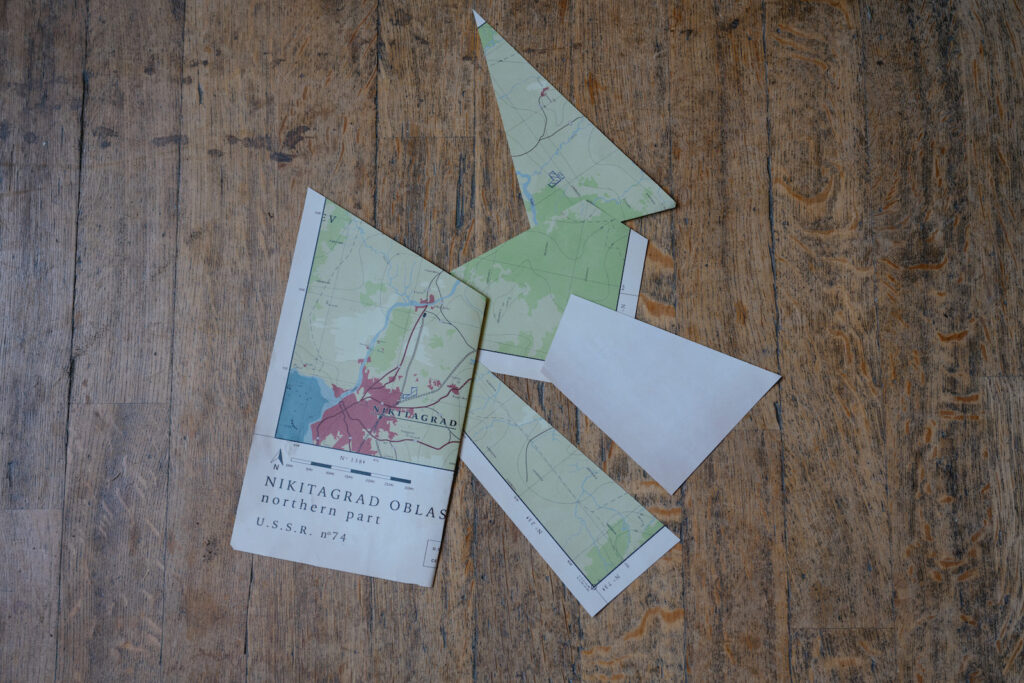
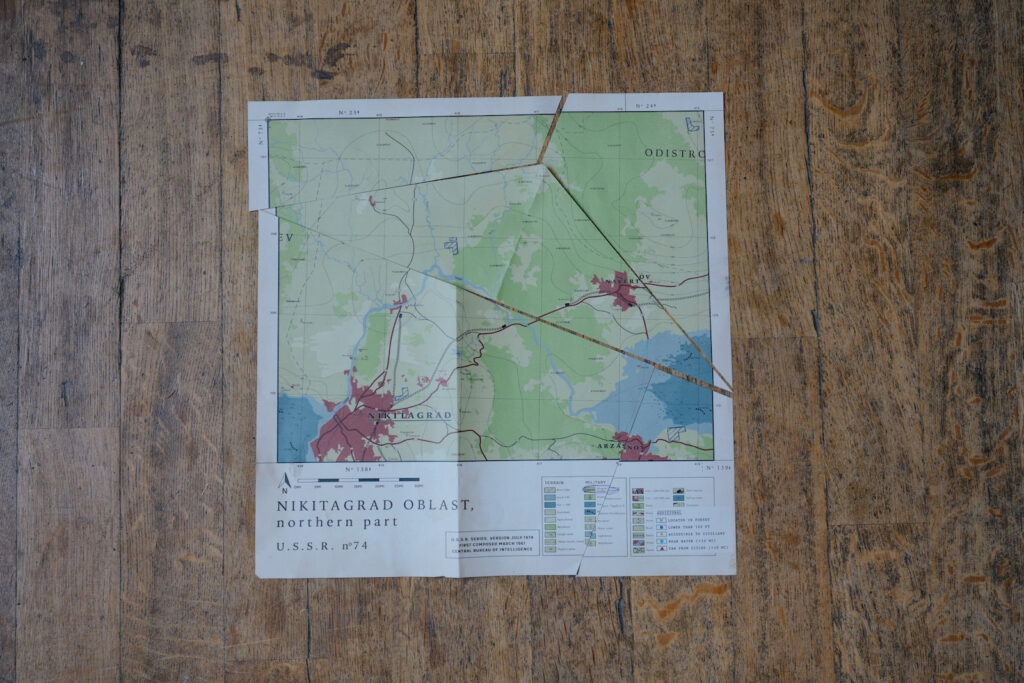
In a final instruction, Abigail says to make the map into a hexagon. This is why she cut it into 5 pieces – they can be rearranged into a regular hexagon. Keep all pieces unfolded and face up.
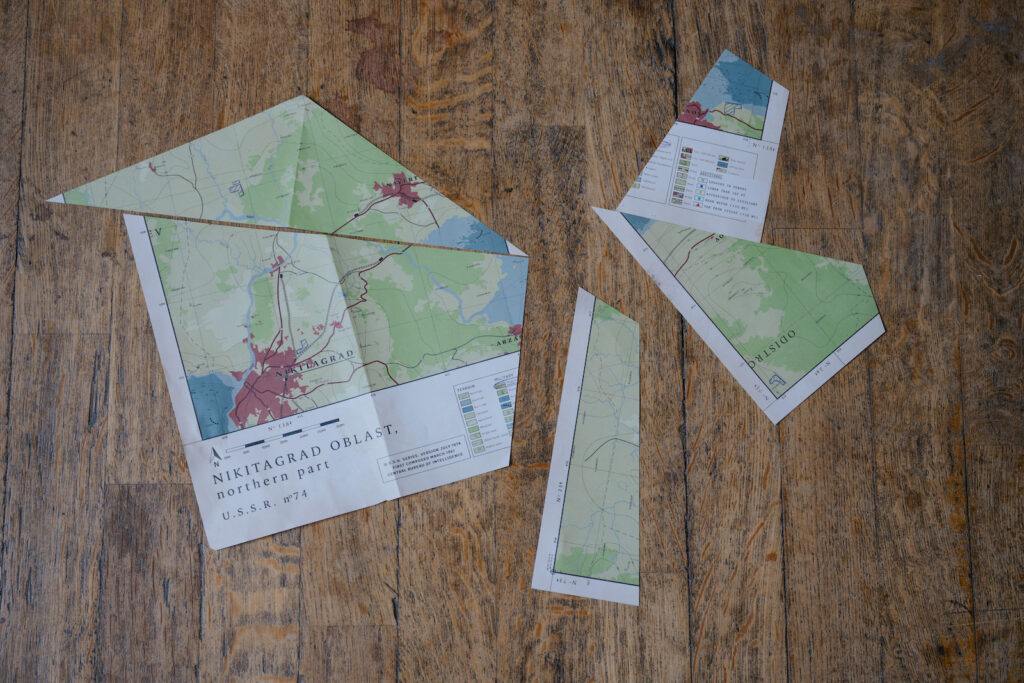
It’s a tricky puzzle. Use this as a first step.

With the hexagon complete, the next step is to “place the square”. Do you notice anything that tells you where to place a square? Do you have something that fits?
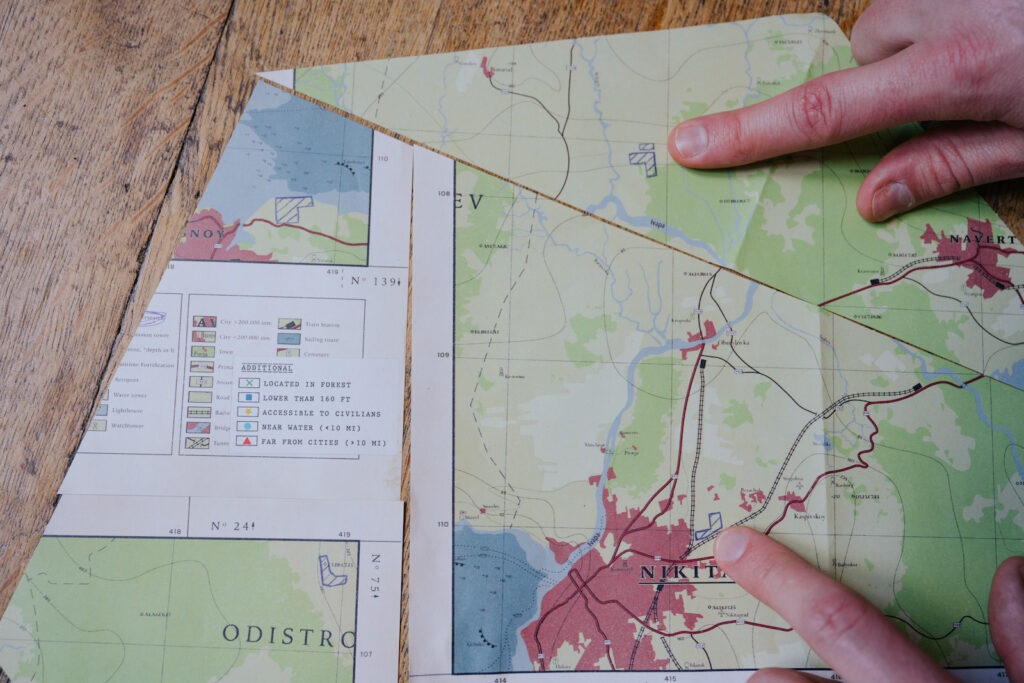
The handdrawn markings, previously used to align the transparency, now form the corners of a perfect square.
Place the floppy disk in the right position. Finally, “look through the circle” to find the structure Abigail is hiding in. Unfortunately, this name has become illegible in the prototype run. Apologies!

The structure Abigail is hiding in (a radio tower) is called ‘Krotovina’.

Have you found Abigail’s hiding place, but don’t know how to answer the second and third question? First of all: nice work! Here’s some tips to help understand the plot.
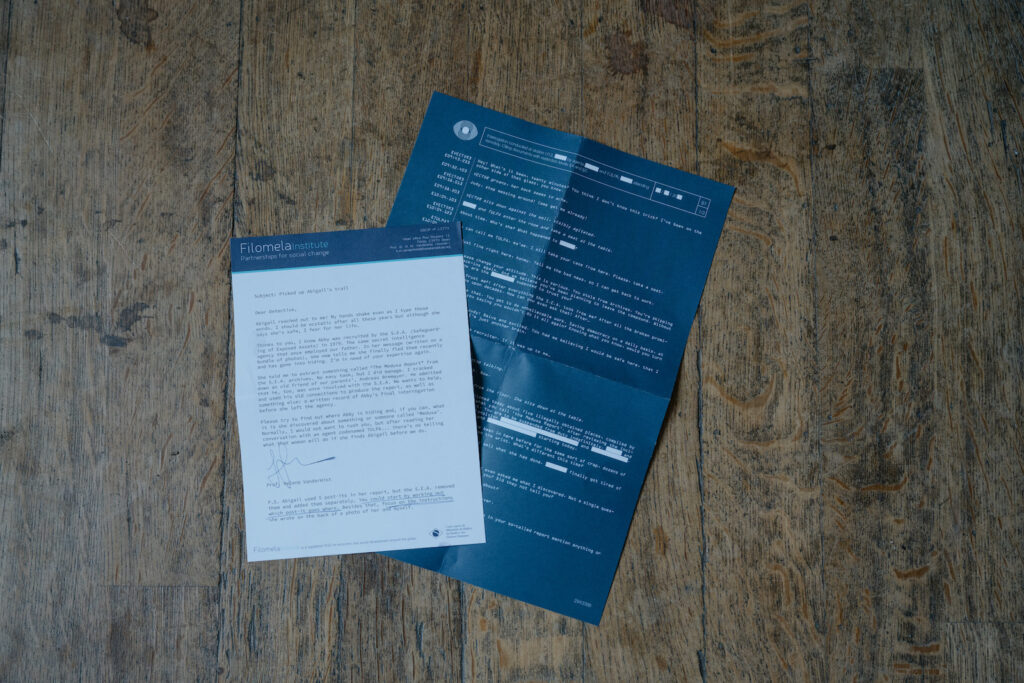
The S.E.A.(Safeguarding of Exposed Assets) works with international agencies to help protect witnesses, secret agents, or anyone who knows too much to be allowed to fall into enemy hands. Using field agents, extracting these people is a tricky and dangerous undertaking.
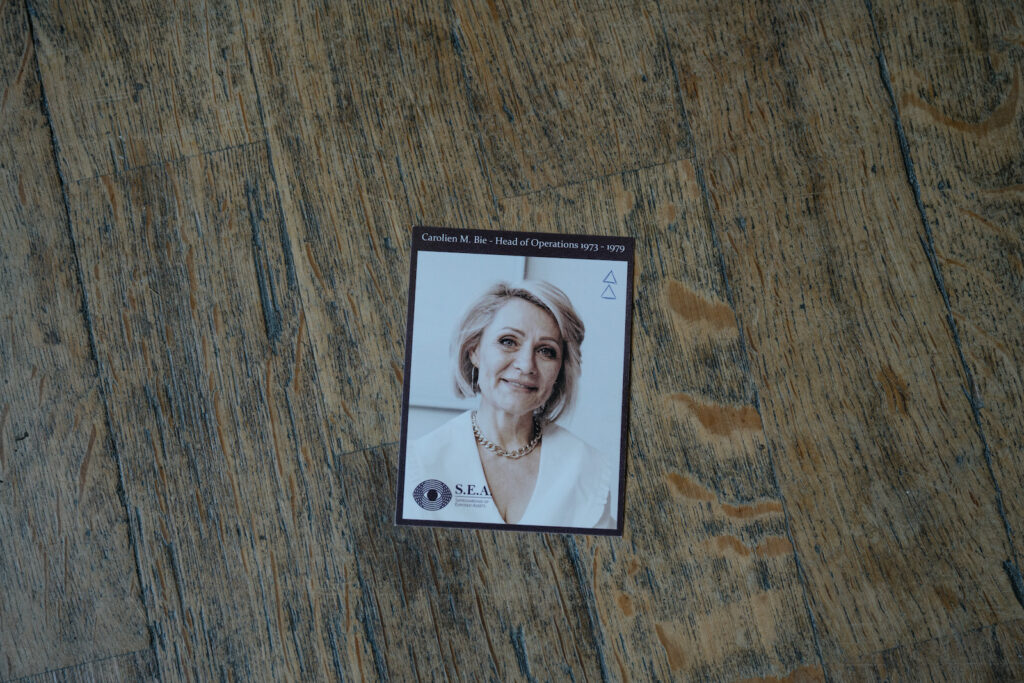
After Carolien Bie became director of the S.E.A., things quickly became much more efficient, as noted on the back of her photograph. She changed the process somehow. Despite the uncertainties of the job, she was able to give Maggis a personal guarantee for success (see Maggis’ letter).

Were Maggis and Bie ever truly worried about McLoughlin’s personal safety? All they seem to care about is him not falling into KGB hands.

In her letter to Maggis, Bie openly laments the failure of their extraction attempt and takes full responsibility for his death.
However, in a message hidden behind the postage stamps, she writes: “It’s done, Charles! McL is eliminated. KGB will never find out what he knew, thanks to my Medusa substance. This is the future of protecting state secrets.”

Medusa is a ‘substance’, and it was used by the S.E.A. to eliminate Joshua McLoughlin. Secretly, instead of saving him, Bie had him killed using a self-developed poison.
Judging by her wording, Medusa is a new, untested program, set up in collusion with Maggis. This mission was Bie’s chance of proving its worth. It’s unclear how many other people within both agencies knew about it.

Despite Bie’s self-satisfied conclusion, Charles Maggis is quite unhappy with the result. In his coded evaluation, he calls “this Medusa stuff” a disaster, because the poison has left very noticeable symptoms on McLoughlin’s body. It was supposed to be untraceable, but he was found with a contorted face and a floral scent. Maggis orders Bie to shut the program down and destroy any doses she has left.

Written underneath Maggis’ hidden note, Abigail responds to this, writing: “Remember, Helena? That awful, sweet smell that wouldn’t leave the house? And the way Dad’s mouth wouldn’t close?”
Reading these symptoms, she immediately recognizes them from her father’s body, which she found as a kid (as mentioned in the transcript).
Which is why she adds: “That was more than a year after this ‘rescue mission’, though. Someone held on to this stuff, despite Maggis’ orders.”

Finally, in the blotting paper, she writes “I must know who used this stuff on Dad!”.
This is the reason she finally left the S.E.A.: their father Simon Vandermist was murdered using a special poison, developed in secret inside the agency.
Now, she is on her own, on a quest to find out who is responsible, and why. But first, she needs Helena to find her hiding place and join her.
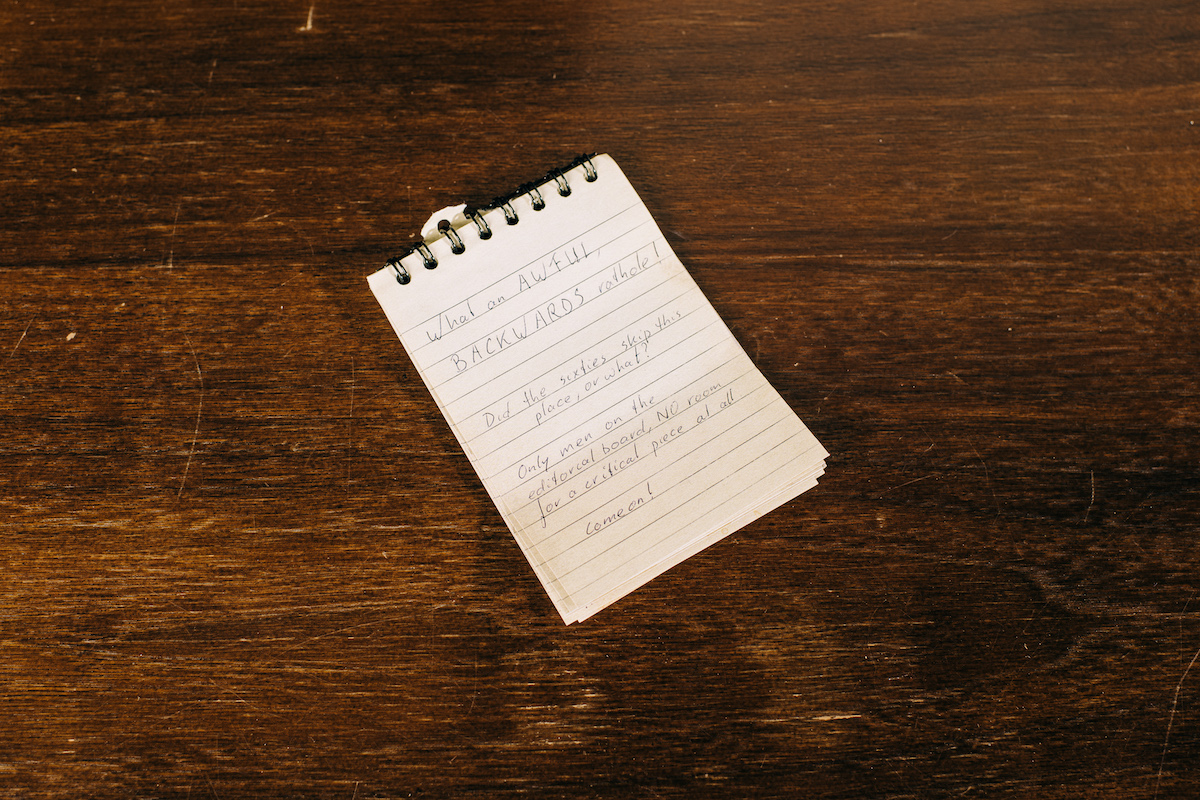
Read the notebook carefully to understand as much as you can about Abby’s investigation. Then focus your attention on the last page that wasn’t ripped out. Have you seen something like this code anywhere else? Solve the paper shreds first. If you do, you’ll know where to find an important clue.
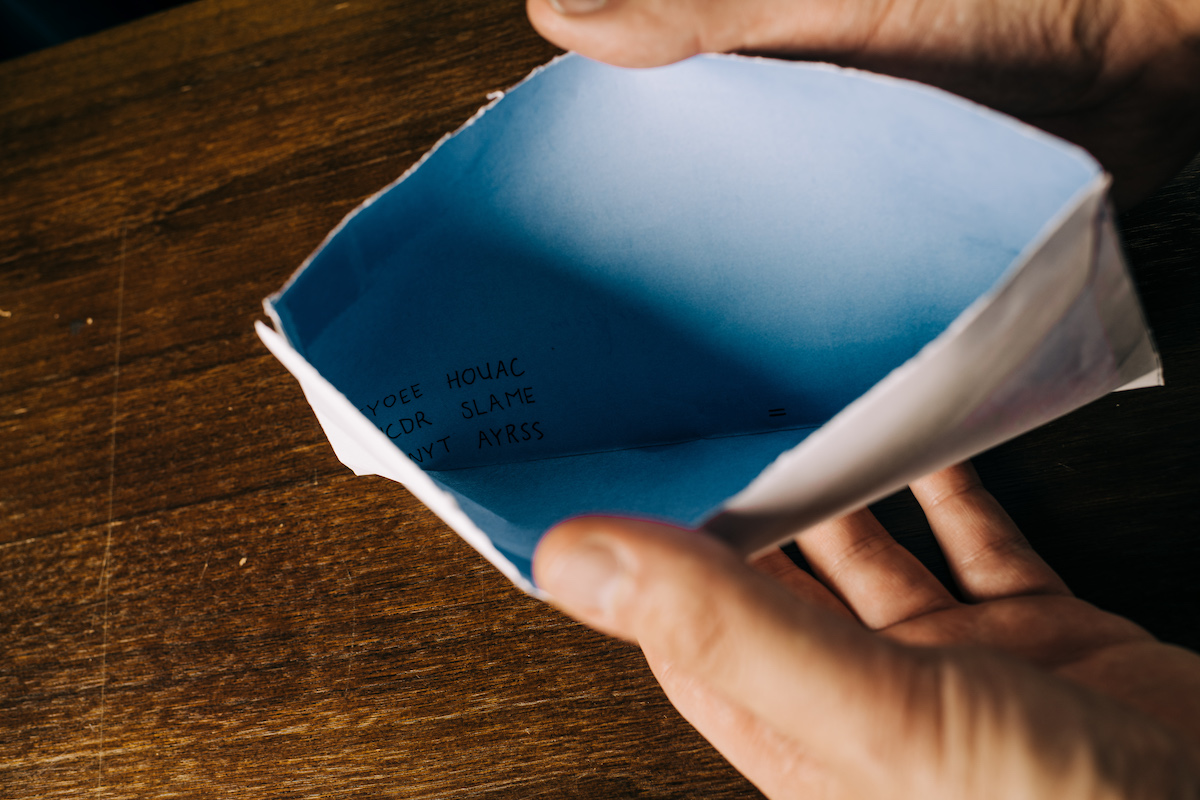
Look inside the envelope. On the right is a short message by Abigail: “This way only you can read my secrets.” Can you figure out what the encrypted text on the left reads?
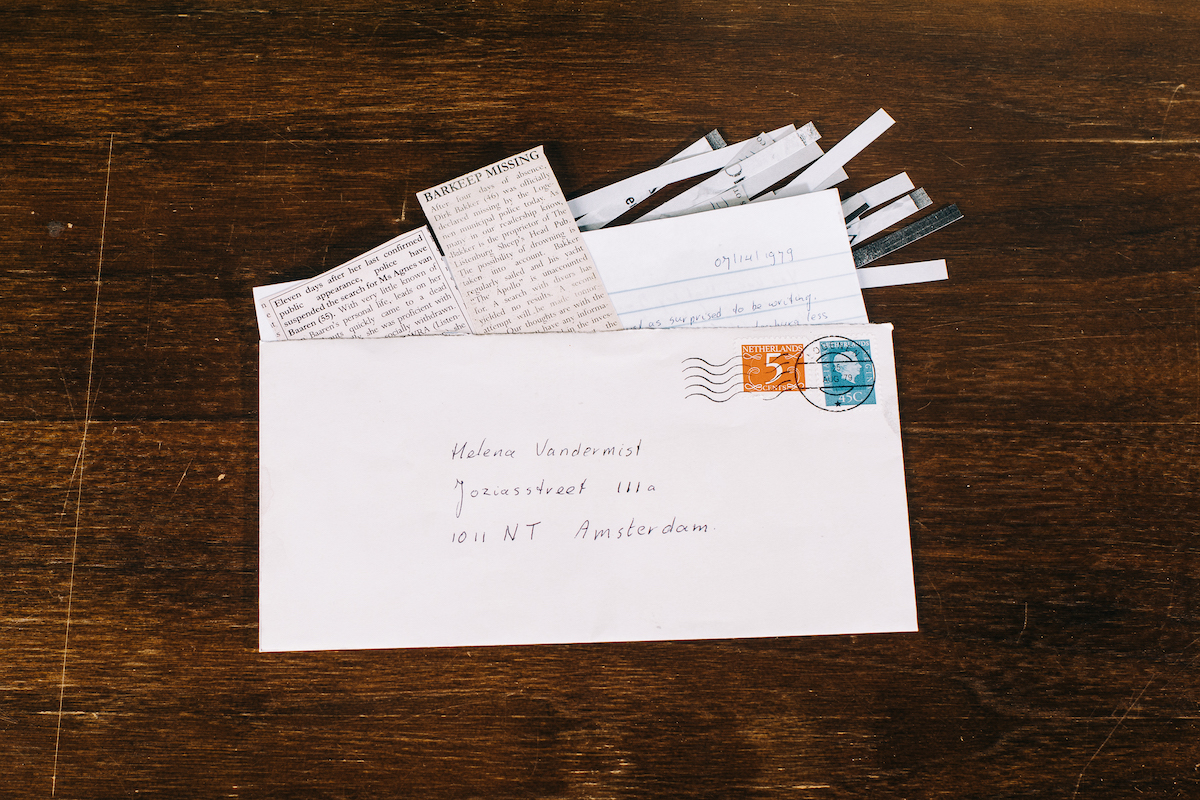
The message on the right is written in a strange fashion: six columns of five letters each. Compare this to the code on the left.

The letters on the left are the same, except written in a different order: the first word on the left is the first column of the message on the right. Abigail is showing her sister how her cipher works! Where can you apply this new-found knowledge?
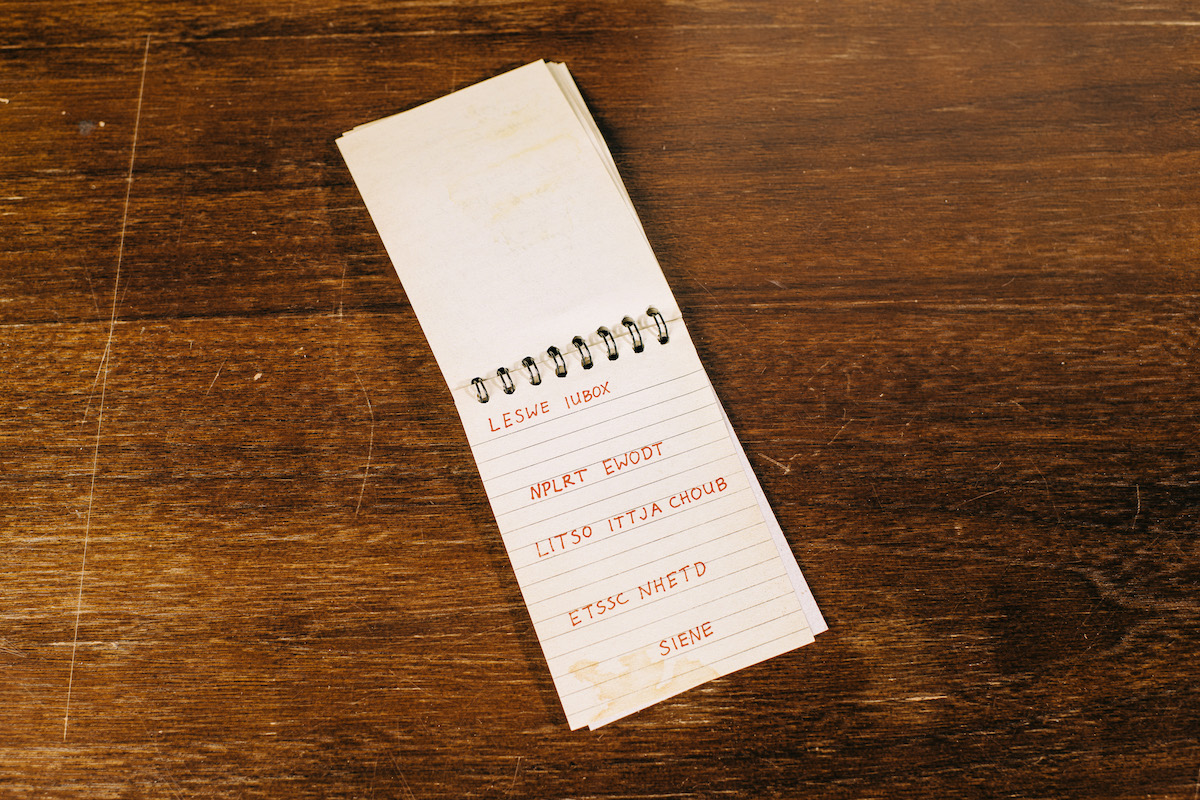
When you decrypt message in red at the end of the notebook, using the same method as shown inside the envelope, you get:
“LINE LICENSE UP WITH THIS BLOT TO SEE WORDS JUST NEXT TO ABCDE”

Lees de brief, en bestudeer de overige inhoud van de envelop. Vanwege deze papiersnippers besloot Abigail naar Oostzoom te vertrekken. Nadat ze het las, heeft ze er twee kleine krantenknipsels bij gezocht. Wat staat er in dit bericht dat niemand mocht lezen?

Abigail werd geïntrigeerd door deze interne politiefax. Waarom zou het geheim moeten blijven als twee vermisten weer waren teruggevonden?
Abby heeft op iedere snipper 1 letter gezet, om haar zus te wijzen op een geheim bericht:
B I N N E N K A N T V A N D E E N V E L O P.
Zie je daar iets staan?